Quick answer: Learn the essential ingredients and tools for making easy milkshake recipes at home. Get beginner tips, step-by-step guidance, and FAQs.
Milkshakes seem like one of the simplest treats to make at home, but anyone who has tried knows the difference between a mediocre, watery blend and a genuinely thick, creamy shake. The process is forgiving, but the details matter. This guide breaks down the essential ingredients, tools, and techniques you need to build a solid foundation. Whether you are using a high-performance blender or just a hand mixer, you will learn how to balance flavors, avoid common beginner pitfalls, and customize your shake with confidence.
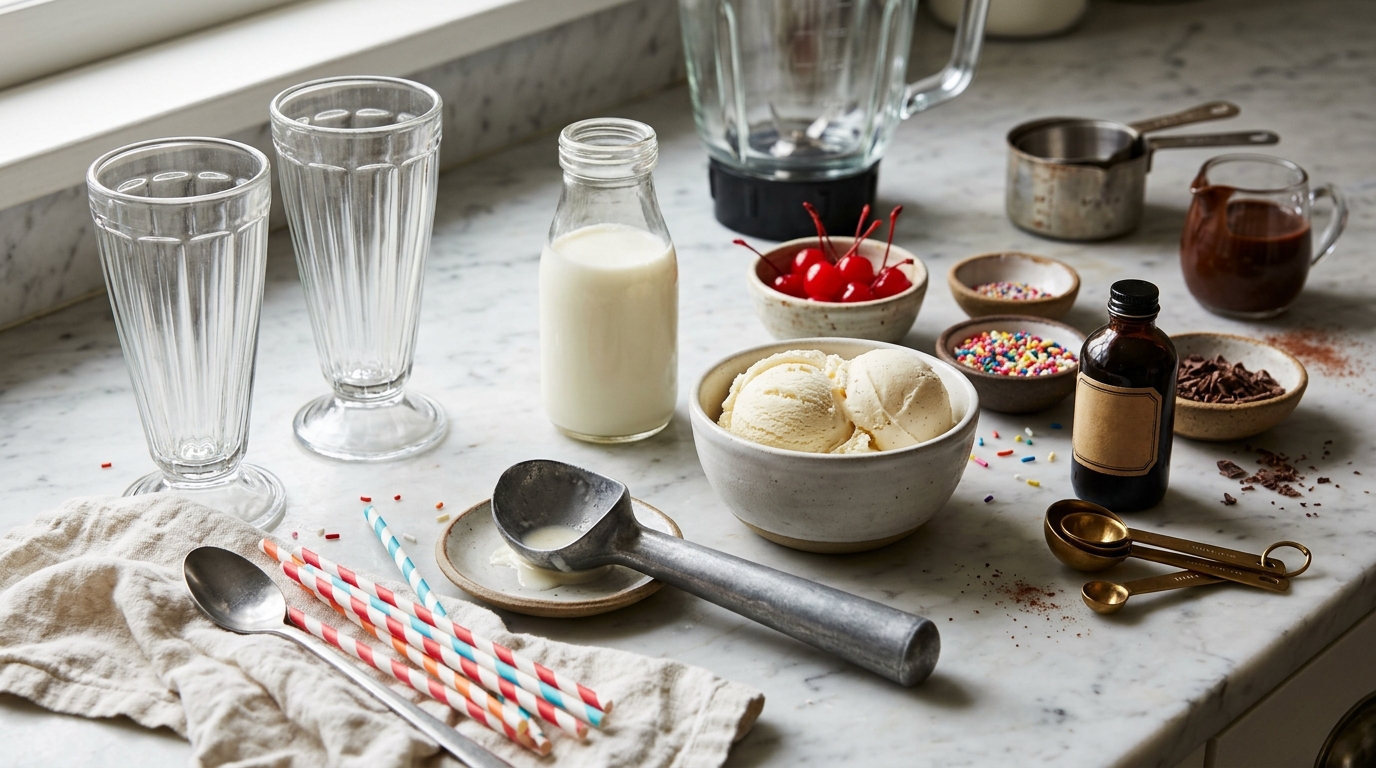
Milkshake Making 101: Essential Ingredients and Tools for Beginners
Every milkshake is built on a simple relationship between ice cream and milk. The ice cream provides body, flavor, and richness; the milk loosens it just enough to make it drinkable. The standard starting point is a 2:1 ratio—two parts ice cream to one part milk. For a basic vanilla shake, that means 2 cups of ice cream to 1 cup of whole milk. This produces a shake that is thick enough to hold its shape in the glass but thin enough to pull through a straw.
You should treat this ratio as a starting point, not a rule. The exact consistency depends on the fat content of your ice cream, the temperature of your ingredients, and your personal preference. If you want a thicker, almost spoonable shake, add more ice cream. If you prefer a thinner, more drinkable texture, add milk in small increments—one tablespoon at a time—until you reach the right consistency.
Choosing the Right Ice Cream
The most important decision you will make is the ice cream itself. Full-fat, premium ice cream with a higher butterfat content (typically 14–16%) produces the creamiest, thickest shake. The butterfat is what gives the shake its smooth, rich mouthfeel. Standard ice cream, which usually contains 10–12% butterfat, will still work, but the result will be slightly lighter and less luxurious.
Check the nutrition label on your carton to see the actual fat content. The term “premium” is not strictly regulated by the FDA, so you should verify the product claims by looking at the ingredient list and nutrition facts. Vanilla is the most versatile base for beginners because it pairs well with almost any flavoring you want to add. Chocolate and strawberry are also solid starting points.
You should generally avoid “light,” “reduced-fat,” or “low-fat” ice creams for milkshake making. These products often contain more air and water to compensate for the reduced fat, which leads to a thinner, icier shake. If you are using a dairy-free alternative, such as coconut, oat, or almond-based ice cream, be prepared for a different texture. These products vary widely in consistency, and you may need to use less milk or add a binder like a frozen banana to achieve a creamy result.
Selecting Milk and Dairy Alternatives
Whole milk (3.25% fat) is the standard choice for milkshakes. It adds richness without overpowering the ice cream’s flavor. Low-fat or skim milk will work in a pinch, but you will need to use less of it to avoid a watery shake. Start with half the amount you would normally use and add more only if needed.
Plant-based milks are a viable option, but their thickness varies significantly by brand. Oat milk is often the creamiest of the common alternatives, while almond and soy milks tend to be thinner. You may need to experiment to find the consistency you prefer. If you are looking for a classic “malt shop” style shake, consider adding a scoop of malted milk powder. This adds a distinctive, toasty flavor and can help thicken the shake slightly.
Essential Flavorings and Mix-Ins
Once you have the base down, you can start customizing. Syrups—chocolate, caramel, strawberry—are the easiest way to add flavor because they blend smoothly. Start with 2 to 3 tablespoons per shake and adjust to taste. Fresh fruit, like bananas or berries, adds natural flavor but also introduces moisture. If you are using fruit, reduce the milk slightly to compensate for the extra liquid.
Extracts are potent and should be used sparingly. A quarter to a half teaspoon of vanilla, almond, or peppermint extract is usually enough to flavor an entire shake. For texture, consider folding in crushed cookies, candies, or nuts after blending. This preserves their crunch rather than pulverizing them into the liquid. There are no standard measurements for mix-ins, so start with a small amount and add more based on your preference.
Blenders, Mixers, and Shakers: What Works Best
The tool you use matters less than how you use it, but some options are easier than others. A high-speed blender will produce the smoothest shake in the shortest time. Blend for 30 to 45 seconds total—start with short pulses to break up the ice cream, then blend on low, gradually increasing to high. If you are using a standard blender, you may need to pause and stir the mixture with a long spoon or use the tamper to push ingredients down toward the blades.
Hand mixers, either immersion or stand mixers, can also work, but they require more effort. Use a deep bowl to avoid splattering, and be prepared to stop and scrape down the sides several times. For a single serving, you can use a cocktail shaker or a mason jar with a tight lid. This method works best if you let the ice cream soften for several minutes before shaking. The texture will be slightly less smooth than a blender, but it is a practical option if you do not own one.
Regardless of the tool, add the ice cream first, then the milk. This prevents the milk from splashing and helps the blender pull the ingredients down more efficiently. Use short pulses initially to avoid overworking the mixture.
Step-by-Step: How to Make a Basic Vanilla Milkshake
This is a reliable recipe to practice the core technique. It yields about 2 servings, approximately 12 ounces each.
Ingredients:
- 2 cups vanilla ice cream
- 1 cup whole milk
- 1/2 teaspoon vanilla extract (optional)
Instructions: 1. Let the ice cream soften at room temperature for 5–10 minutes. This makes blending easier and reduces the risk of icy chunks. 2. Add the ice cream, milk, and vanilla extract (if using) to the blender. 3. Pulse 2–3 times to break up the ice cream, then blend on low for about 15 seconds. 4. Increase to high and blend for another 15–30 seconds, until the mixture is smooth and uniform. 5. Taste and adjust. If the shake is too thick, add milk one tablespoon at a time. If it is too thin, add more ice cream. 6. Pour into chilled glasses and serve immediately.
For a thicker shake, use more ice cream and less milk. For a thinner shake, add milk in small increments. The key is to make adjustments gradually, so you do not overshoot.
Troubleshooting Common Problems
Even with the right ratio, things can go wrong. Here are the most common issues and how to fix them.
Too thin: This is usually caused by too much milk or low-fat ice cream. Add more ice cream to thicken it. If you have already added too much liquid, you can also add a small amount of xanthan gum (about 1/8 teaspoon) as a thickener. Follow the usage instructions on the package, as a little goes a long way.
Too thick: Add milk in one-tablespoon increments while the blender is running. Stop as soon as the shake reaches the right consistency.
Icy or lumpy: This happens when the ice cream is too hard. Let it soften for 5–10 minutes before blending, or blend for a longer time in short pulses.
Separation: Milkshakes can separate if they sit for a while. This is normal. Simply shake or blend the mixture again before serving. Fruit-based shakes are more prone to separation; a bit of honey or syrup can help emulsify the mixture.
Tips for Customizing Your Milkshake
Once you are comfortable with the basic recipe, you can experiment freely. Flavored syrups and extracts create endless variations. A scoop of malt powder transforms a vanilla shake into a classic malted. For an adult version, you can add a small amount of liqueur—just reduce the milk slightly to compensate for the extra liquid. Always be mindful of legal drinking ages and drink responsibly.
For presentation, top the shake with whipped cream, sprinkles, or a cherry. You can also experiment with coffee, peanut butter, or cookie butter for unique flavors. There is no single “best” combination; it comes down to your personal taste.
Serving and Storage Best Practices
Milkshakes are best consumed immediately. Serving them in chilled glasses helps maintain the temperature and keeps the shake from melting too quickly. Leftovers can be refrigerated in an airtight container for up to 24 hours, but they will separate. Before serving again, shake or re-blend the mixture to restore its texture.
Freezing a milkshake is not recommended for drinking, as it will turn into a semi-frozen dessert and lose its drinkable consistency. Always use clean utensils and containers, and follow general dairy storage guidelines. Per FDA recommendations, dairy products should not be left at room temperature for more than two hours. Verify current guidelines for any time-sensitive food safety questions.
Frequently Asked Questions
Can I make a milkshake without a blender? Yes. You can use a hand mixer, a cocktail shaker, or a mason jar with a tight lid. Soften the ice cream first, then shake or mix vigorously. The texture may be slightly less smooth, but it works for a single serving.
What is the best ice cream for milkshakes? Full-fat, premium ice cream with a higher butterfat content (around 14–16%) produces the creamiest, thickest shake. Vanilla is the most versatile base for beginners.
How can I make a dairy-free milkshake? Use dairy-free ice cream (coconut, oat, or almond-based) and a plant-based milk like oat or soy. These alternatives can be thinner, so you may need to use less milk or add a thickener like a frozen banana to achieve a creamy texture.
—
Making a great milkshake at home is about balance: the right ice cream, a modest amount of milk, and a reliable blending method. Start with the basic vanilla recipe, then experiment with flavors and mix-ins to suit your taste. With the tips and troubleshooting in this guide, you will be able to avoid common beginner mistakes and craft thick, creamy shakes every time.
This guide is for general informational purposes only and does not constitute medical, dietary, or food safety advice. Always follow manufacturer instructions for kitchen appliances and adhere to local food safety guidelines. If you have allergies or dietary restrictions, consult a qualified professional. This content reflects general culinary practice as of 2025; verify any time-sensitive food safety guidelines with official sources.
 By Mara Voss |
No responses yet