Quick answer: Indulge in a creamy Peanut Butter Cup Protein Milkshake packed with 25g protein. A guilt-free dessert or post-workout treat ready in 10 minutes!
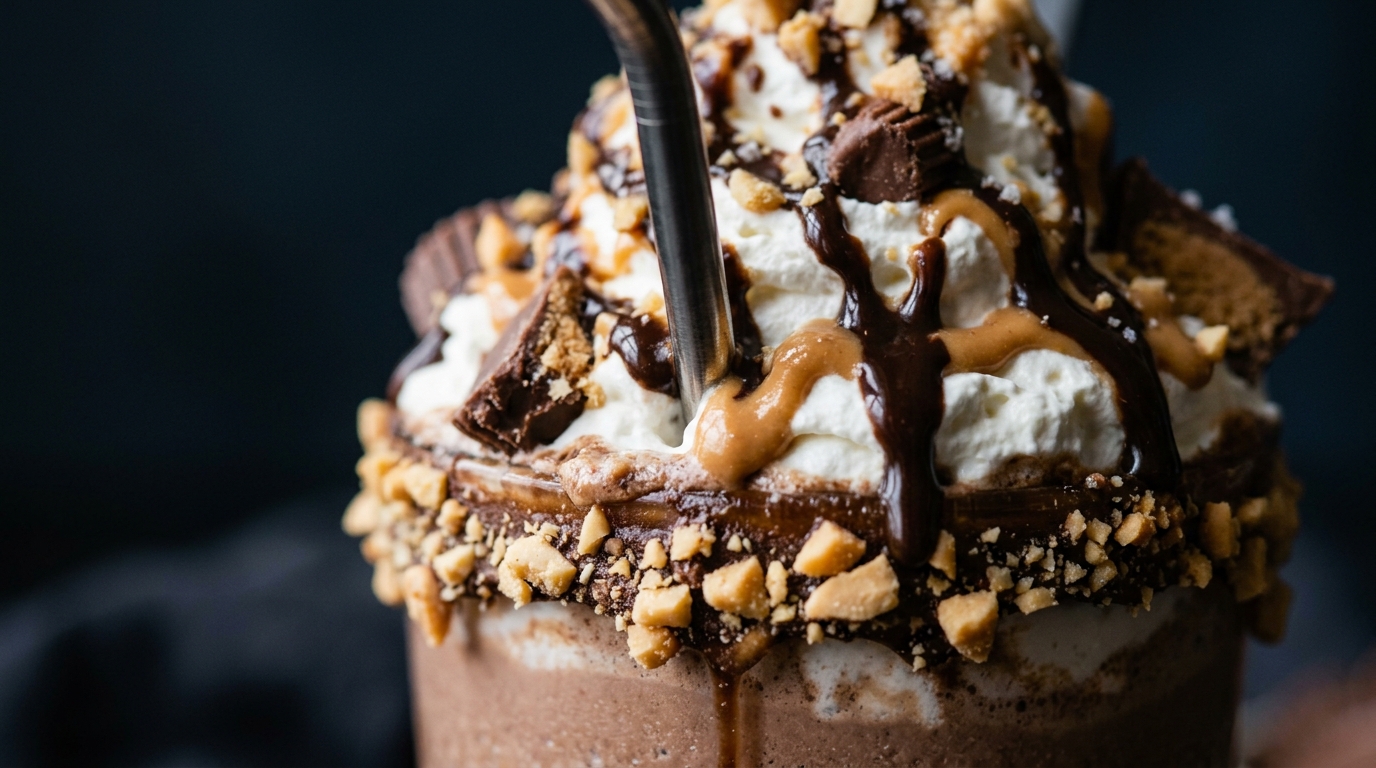
Peanut Butter Cup Protein Milkshake
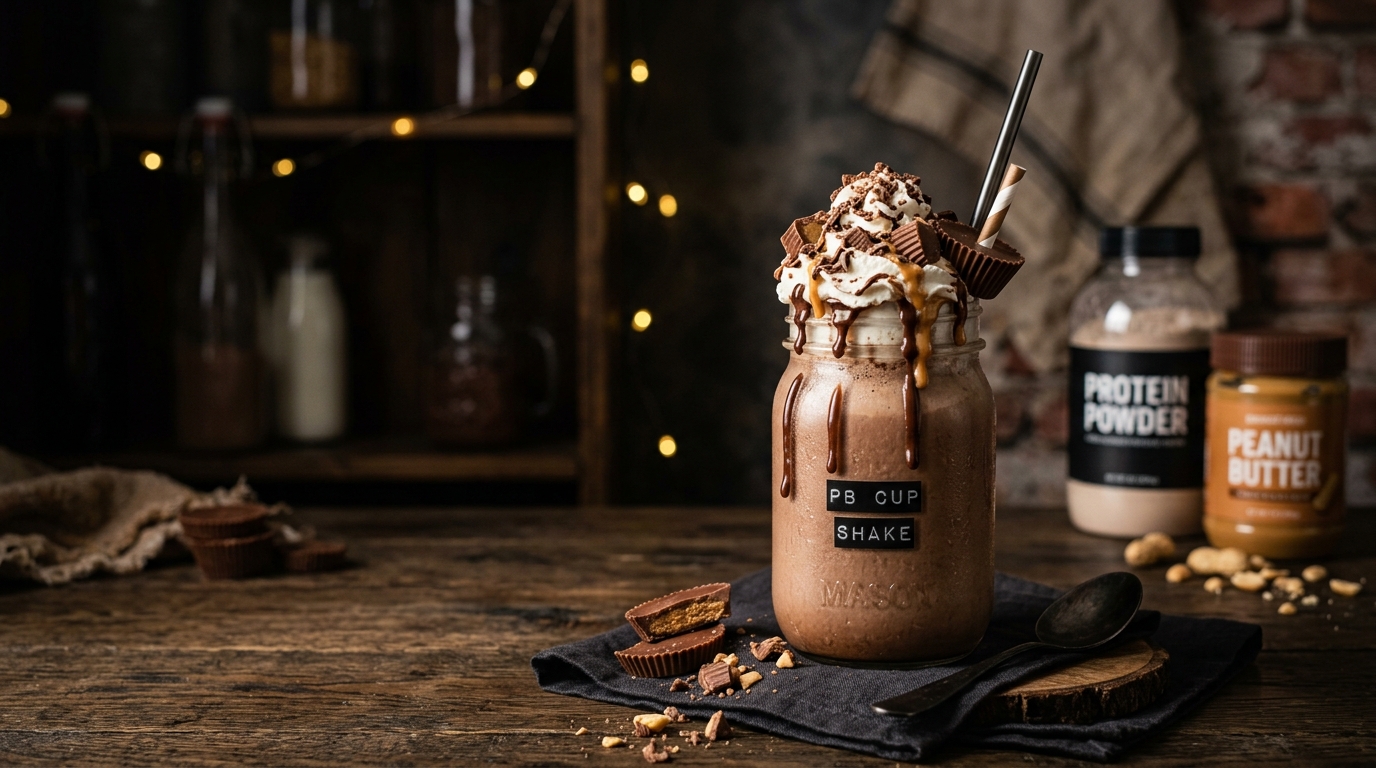
This Peanut Butter Cup Protein Milkshake tastes like dessert but fuels your body like a post-workout recovery drink. I created it after craving Reese’s cups but wanting something nourishing—now it’s my go-to when I need both comfort and protein. The blend of chocolate and peanut butter is irresistible, and the protein powder makes it surprisingly filling.
Recipe Information
- Prep Time: 5 minutes
- Total Time: 10 minutes
- Servings: 1
- Calories: 380 per serving
- Difficulty: beginner
Why You’ll Love This Recipe
- Ready in 10 minutes — Perfect for quick cravings or post-workout fuel.
- 25g protein per serving — Keeps you satisfied and supports muscle recovery.
- No refined sugar (unless you want it!) — Naturally sweetened with protein powder and peanut butter.
- Tastes like a peanut butter cup — Rich chocolate-peanut butter flavor without the guilt.
- Customizable with your favorite milk — Works with dairy or plant-based alternatives.
Background
The peanut butter cup milkshake is a diner classic, but this version adds a protein boost for a balanced treat. Using real peanut butter and dark cocoa powder keeps the flavors rich without being overly sweet.
Ingredients
Makes 1 generous serving.
- 1 cup unsweetened almond milk (or milk of choice)
- 1 scoop chocolate protein powder (30g)
- 2 tbsp creamy peanut butter
- 1 tbsp unsweetened cocoa powder
- 1 cup ice cubes
- 1 tsp vanilla extract
- 1 tbsp mini chocolate chips (for garnish, optional)
Equipment
- Blender
- Measuring spoons
- Tall glass
- Straw
Instructions
1. Add almond milk, protein powder, peanut butter, cocoa powder, ice, and vanilla to blender. Tip: For easier blending, add liquids first.
2. Blend on high for 45-60 seconds until completely smooth and creamy. Tip: Stop and scrape sides if needed.
3. Pour into a tall glass and top with mini chocolate chips if desired. Tip: Chill glass first for extra frosty texture.
Tips for the Best Peanut Butter Cup Protein Milkshake
- For thicker texture: Use frozen banana instead of ice.
- For sweeter shake: Add 1 pitted date or 1 tsp maple syrup.
- Boost nutrition: Add 1 tbsp ground flaxseed.
Variations
Make It Your Own
- Extra Decadent: Blend in 1/4 cup crushed peanut butter cups.
Dairy-Free Version
- Use plant-based protein powder and dairy-free chocolate chips.
Protein Version
- Add an extra scoop of chocolate protein powder for a higher-protein boost.
Serving Suggestions
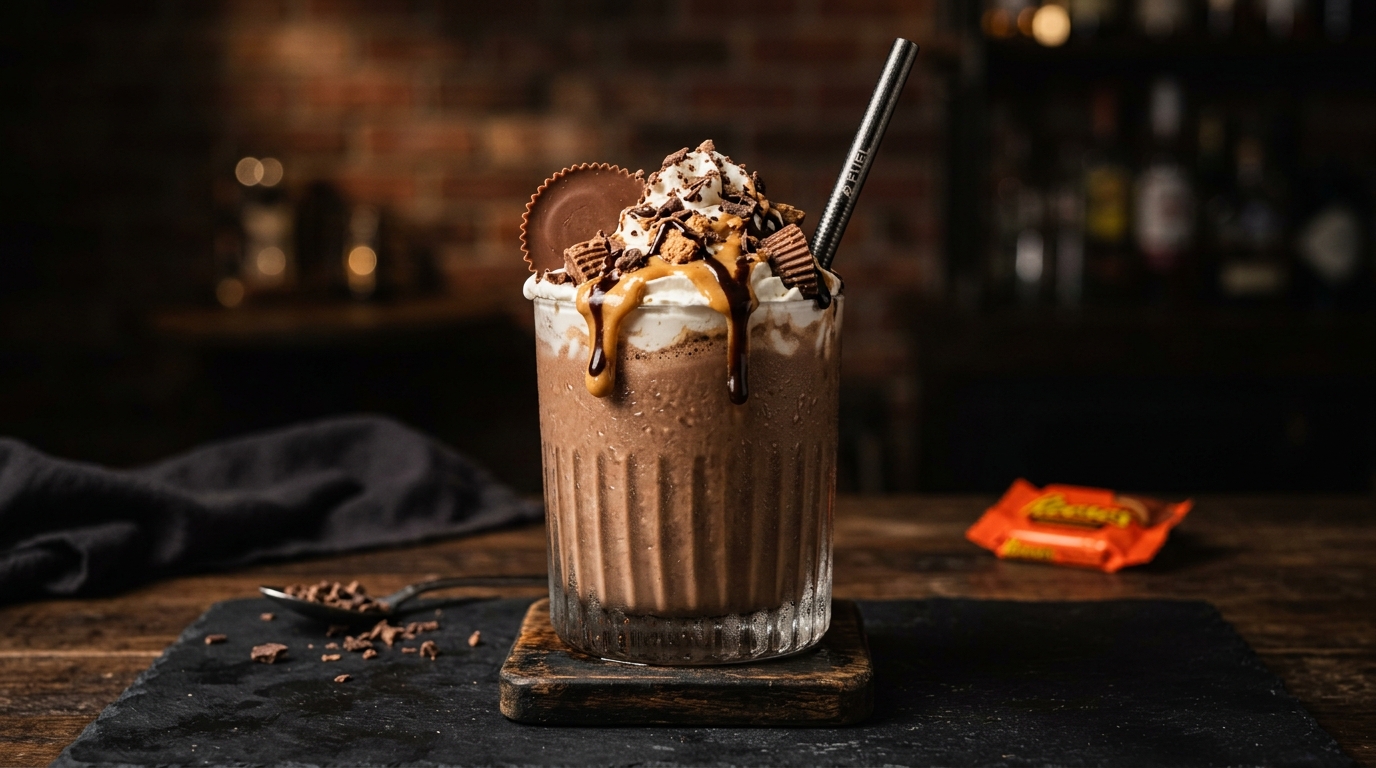
Serve with a drizzle of melted peanut butter on top and crushed peanuts for crunch.
Storage
Best enjoyed immediately. If storing, keep in fridge up to 12 hours—shake or re-blend before drinking as separation may occur.
Nutrition
| Nutrient | Per Serving |
|---|---|
| Calories | 380 |
| Protein | 25g |
| Fat | 18g |
| Carbs | 28g |
Frequently Asked Questions
Can I make this ahead?
Yes, but blend just before serving for best texture. Store ingredients (except ice) mixed in fridge up to 24 hours.
Can I freeze it?
Not recommended—the texture becomes grainy when thawed. Make fresh instead.
How do I make it dairy-free?
Use plant-based protein powder and dairy-free chocolate chips. Most peanut butters are naturally dairy-free.
What’s the best texture tip?
For ultra-creamy results, use chilled ingredients and blend until completely smooth (about 60 seconds).
Conclusion
This protein-packed milkshake proves healthy doesn’t mean boring. One sip of that rich peanut butter-chocolate combo, and you’ll forget it’s good for you too! Whip it up today and enjoy a treat that satisfies both your taste buds and your muscles.
mara Voss
Peanut Butter Cup Protein Milkshake
Ingredients
Method
- Add almond milk, protein powder, peanut butter, cocoa powder, ice, and vanilla to blender. Tip: For easier blending, add liquids first
- Blend on high for 45-60 seconds until completely smooth and creamy. Tip: Stop and scrape sides if needed
- Pour into a tall glass and top with mini chocolate chips if desired. Tip: Chill glass first for extra frosty texture
 By Mara Voss |
No responses yet